
Candy Melts are great! I have been working with them since I was in Jr. High. I would give them as gifts for all the holidays. I’d love going to pick out new molds and make them into suckers. Thanks, Mom, for encouraging my interests – as varied as they were. Candy melts are really easy to work with, and I think they actually taste pretty decent. They are also very versatile. You can do chocolate suckers in molds (I’ll need to do that with my kids to show you), chocolate dipped ice cream cones, chocolate covered strawberries, chocolate swirl lollipops, or make molded decorations for cakes. I’ll do post tomorrow that includes a Noah’s ark cake I made for my sister’s twin baby shower so you can see the idea.
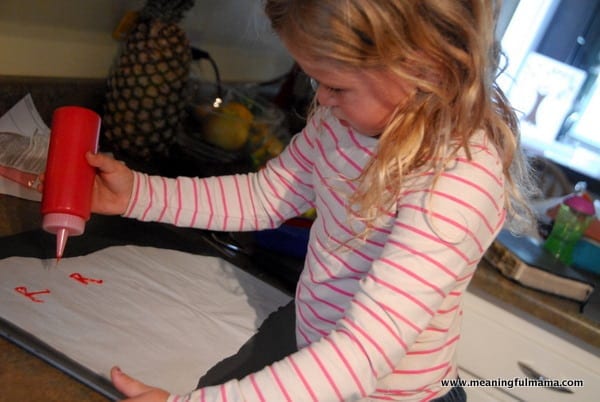
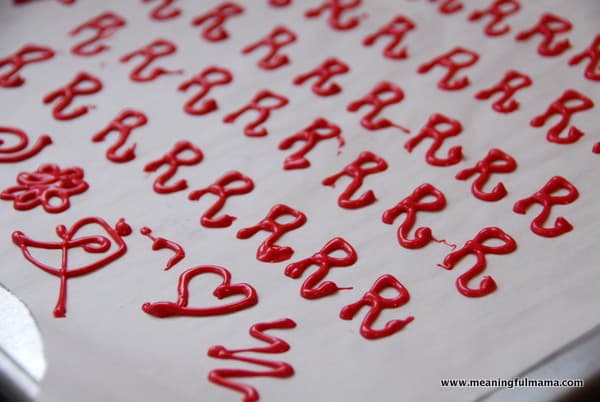
Today, I wanted to show you how you can put the candy melts into a squeeze bottle and create toppings for cupcakes. I was kind of in a hurry, but I wish I had taken more time with my designs. The possibilities are really endless. Mine are fairly sloppy, but you get the idea. You can make letters, words, hearts, flowers, abstract designs, stars, apples, swirls…you name it.
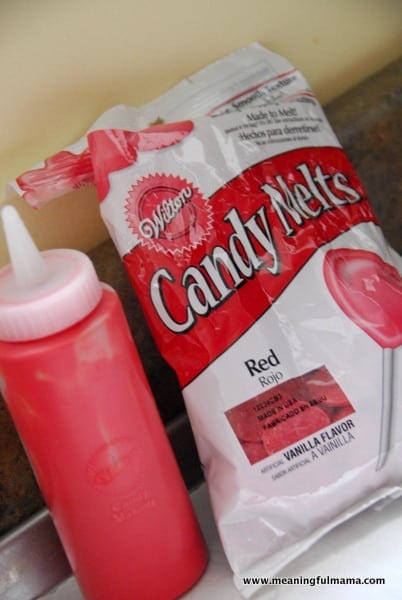
You will need a squeeze bottle. I purchased this one in the cake section of the craft store. It was right next to the Candy Melt section. Candy Melts come in a variety of colors and a white chocolate, vanilla or chocolate flavor depending on the color. I’ll give you Amazon links in case you have never heard of these products before.


Thank you for the tip on using the squeeze bottle. It will help my granddaughters with their cupcakes!
Yay! So glad to help. I love that you are doing this with your grandkids. Keep up the great work.
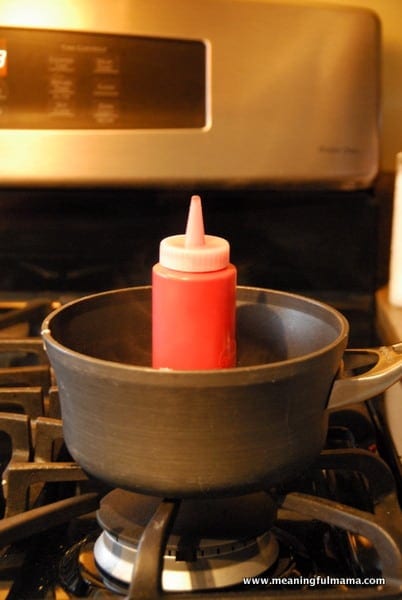
How do you get the unused candy out of the bottle? Do you just heat it back up and pour it out? I was thinking of trying this method, but I wasn’t sure how to clean the used bottle.
Yes. If you apply hot water to the outside and inside of the bottle, it comes out pretty easily. Enjoy!