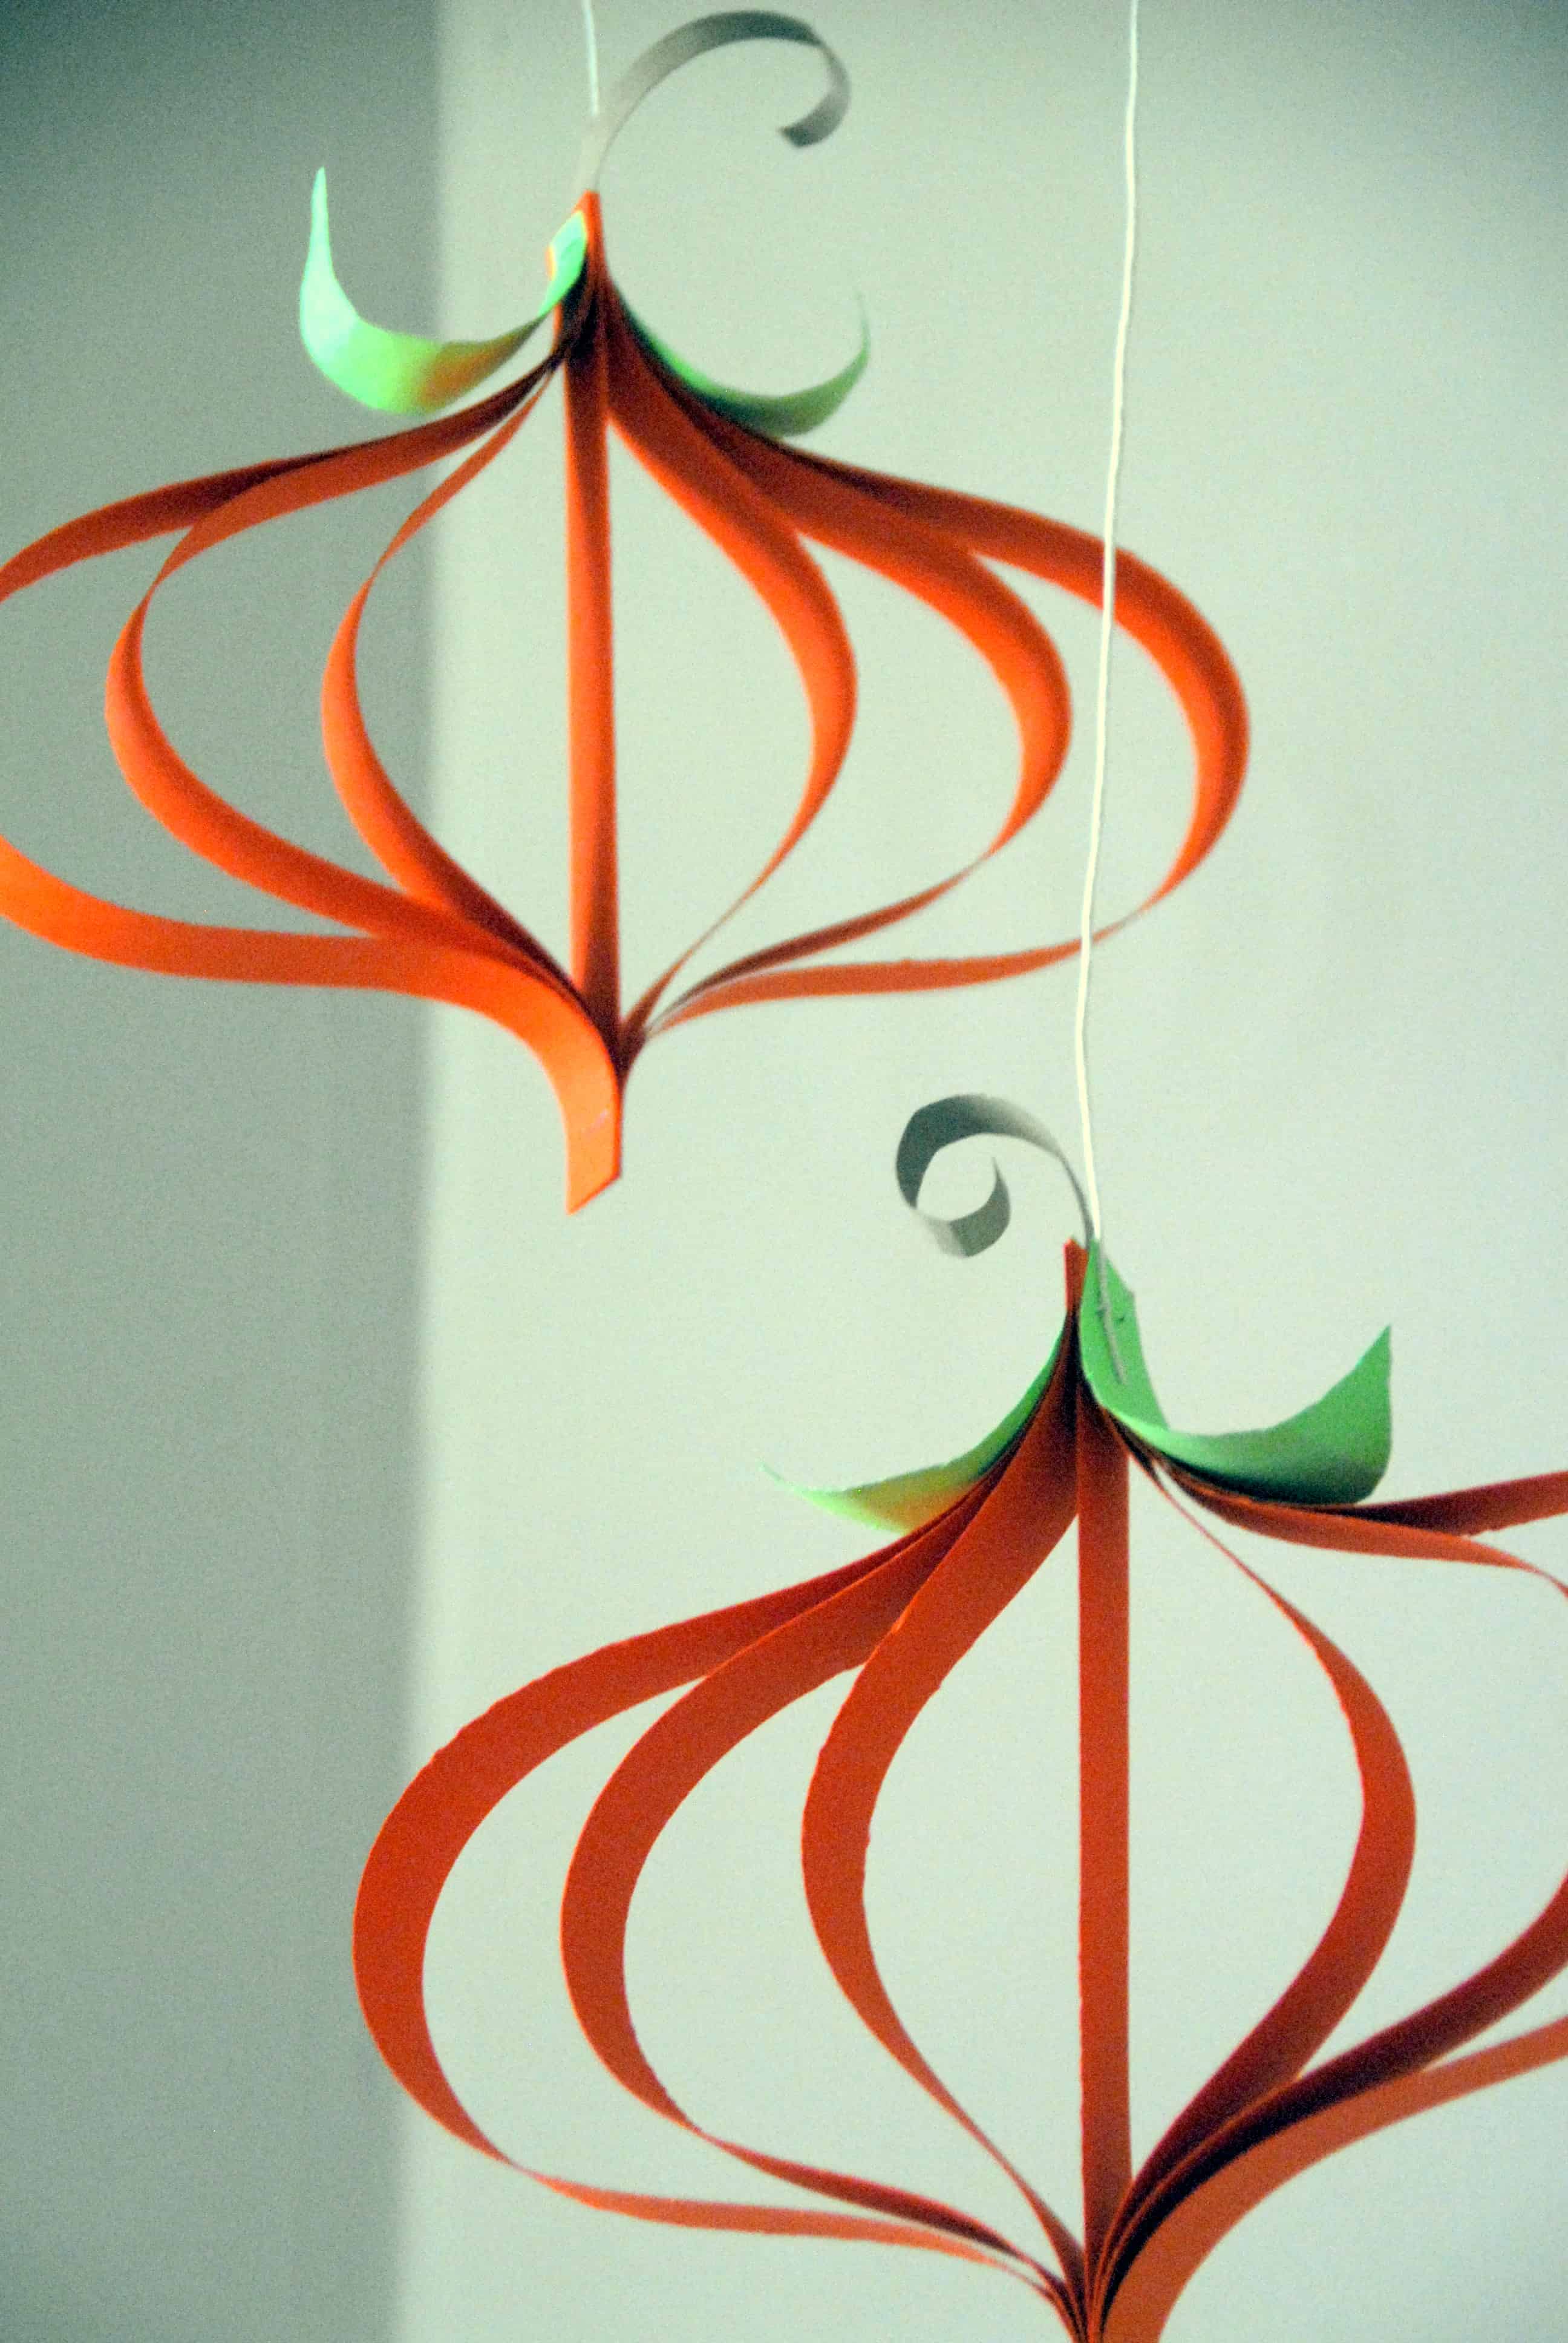
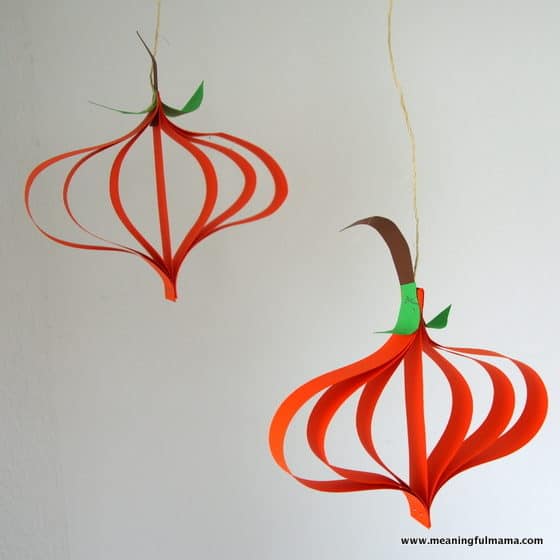
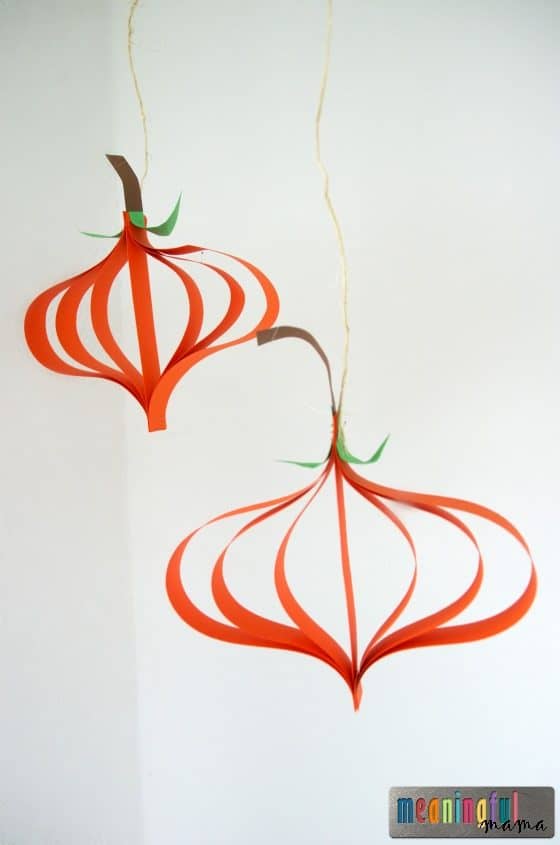
It’s fall, and this paper pumpkin craft tutorial is the perfect pumpkin craft for kids. Can’t you just imagine a whole classroom filled with these hanging pumpkins. They are beautiful as they twirl in circles. With very few supplies needed, it’s so easy to make these with kids. Working on how to measure can be another component of this craft. This cute paper craft is so easy, but I love the results. For more pumpkin crafts check out these adorable sock pumpkins.
* Affiliate links provided for your convenience. Anything you purchase through these links helps to support Meaningful Mama and the free resources I provide. Thank you for choosing to support us.
Paper Pumpkin Craft Tutorial – Materials Needed
- orange construction paper
 or orange stock paper
 - green construction paper or green stock paper
- brown construction paper or brown stock paper
- stapler and staples
- string for hanging
- scissors or paper cutter


 or
or 
 or
or 
 and
and 
 for hanging
 or
or 
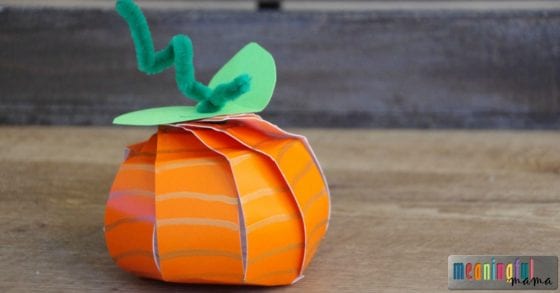
Paper Pumpkin Craft Tutorial
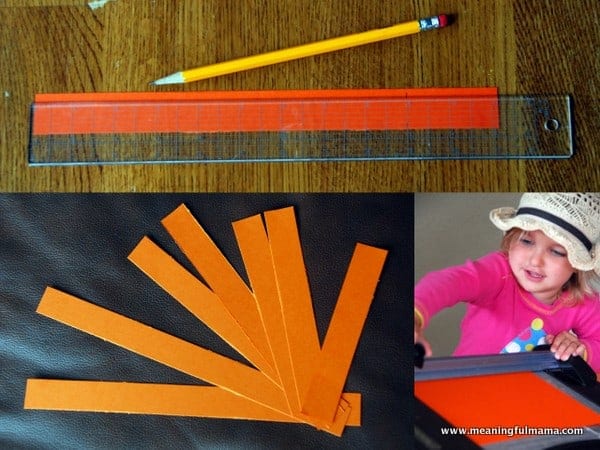
- Cut a piece of paper into 1 inch strips.
- Cut the one inch strips into the following lengths: 11 inches (x2), 9 inches (x2), 7 inches (x2) and 6 inches (x1).
- One piece of paper creates one pumpkin.

- Next it’s time to put the pumpkin together. You want to have the 6 inch one in the middle and then sandwich out from smallest to largest. Make sure the top is flush and put in a staple.
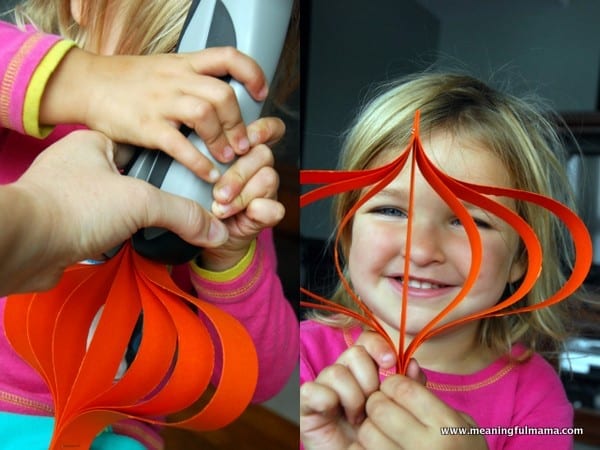
- You now want to line up the other end flush and staple.
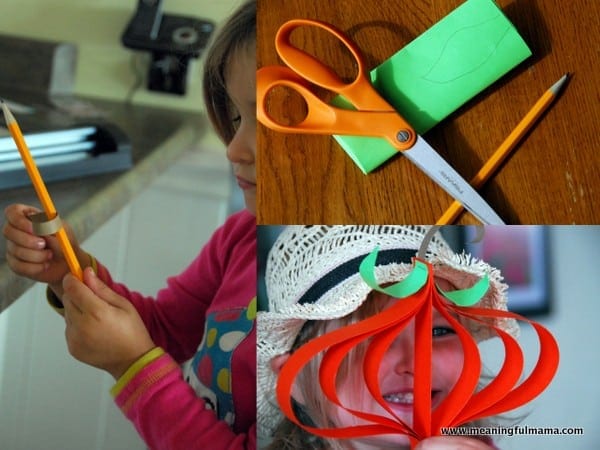
- Cut out some leaves and a stem. Curl the stem around a pencil. We stapled it all together.
This original post from October 2012 was revamped and republished in September of 2016.
Visit the bottom of this post for the full video tutorial.
Want More Fun Fall Crafts?


Oh — these are so cut and can’t wait to make some tonight. They would be great at Christmas too. ( with glittr paper !!!) Thanks Dianne
I love it! Simple and cute. I came here from Strut your Stuff link party.
These are adorable. My girls would love them!! I would love for you to share at my linky party going on right now. http://www.mandatorymooch.blogspot.com/2012/10/tasty-thursdays-11.html
Thanks, Nichi
My kids would love that project! I would love to have you stop by ‘Or so she says…’ and share some of your great ideas at the link party, going on right now (every Sat-Tues). Hope to see you there! http://www.oneshetwoshe.com
what is the popsicle stick used for?
I’m confused. I looked back at the Paper Pumpkin Craft and didn’t see that I mentioned a popsicle stick. If I did, I don’t think you need one. Could you direct me to where I said that so I can edit it? I can’t find it.
It says popsicle stick on pinterest, but you didn’t mention it on here. Fun craft! Thanks for sharing.
Weird – Thanks for letting me know.
I love your ideas! I am going to share this post on our blog! Take a look tomorrow 9/15 to see! http://www.capturecreatephoto.com/blog
Thanks again!!
Chelsea
I’ll definitely come check it out. Thanks so much for featuring it and letting me know!
So cute my elementary students will love this tomorrow. Thanks!
Have fun with it! It’s such a great craft for the classroom. 🙂
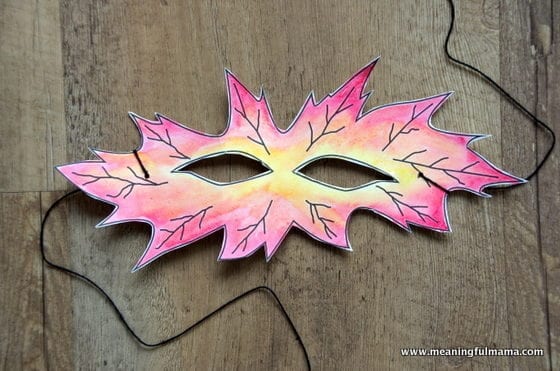
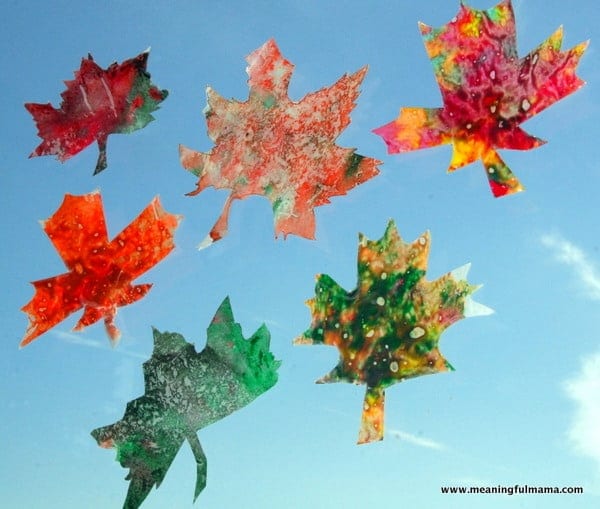
Leaf and pumpkin crafts are some of our favorite things around here and these are so cute. I always look forward to fall crafts and activities.
Thanks so much. We love them around here too. Happy fall!
Magnifique !
Thanks so much. 🙂
[…] Abóbora de Papel da Mamãe Significativa […]
[…] 10. Paper Hanging Pumpkins […]
Thanks so much. Good luck!
Of course. Thank you!
[…] Paper Pumpkin Craft from Meaningful Mama […]