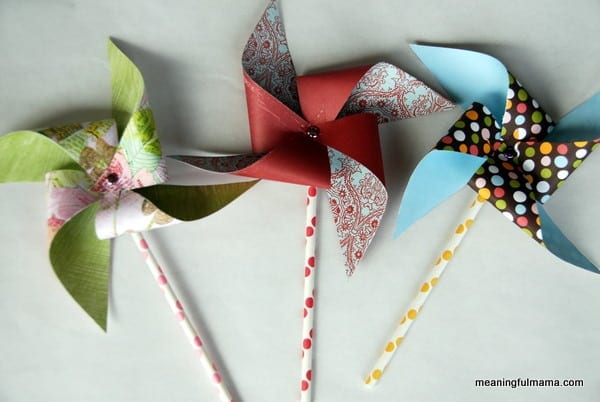
A while back I saw a pinwheel tutorial in a magazine I was flipping through. I really wanted to do these, but I hadn’t gotten around to it yet. Since that time, I’ve seen a lot of pinwheel ideas fly by on lot of blogs and Pinterest. It has still kept my interest, and I’ve wanted to do it even though it seemed like everyone was doing it. So, today you get my own pinwheel tutorial.
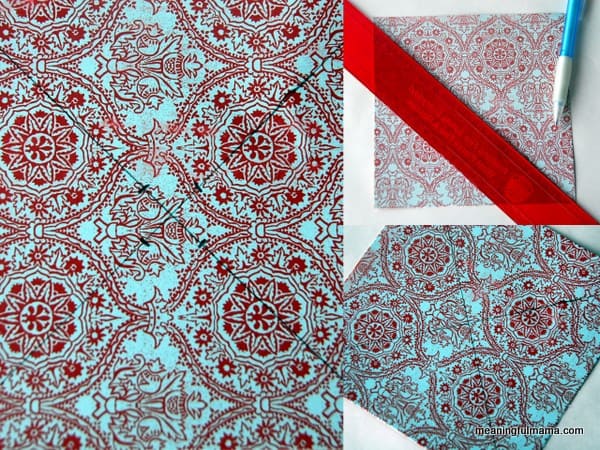
The first thing you do is cut a piece of double sized paper into a perfect square. I chose to do a 6″ x 6″, which was a great size. Then, use a ruler to draw a line from one corner to the next. Then you do the other side so you get a big x. The next step is to measure 1/2″ out from the center and make a mark.

The next step is to cut from the corner to the mark you made at 1/2″ away from the center point. Do this from all four corners.
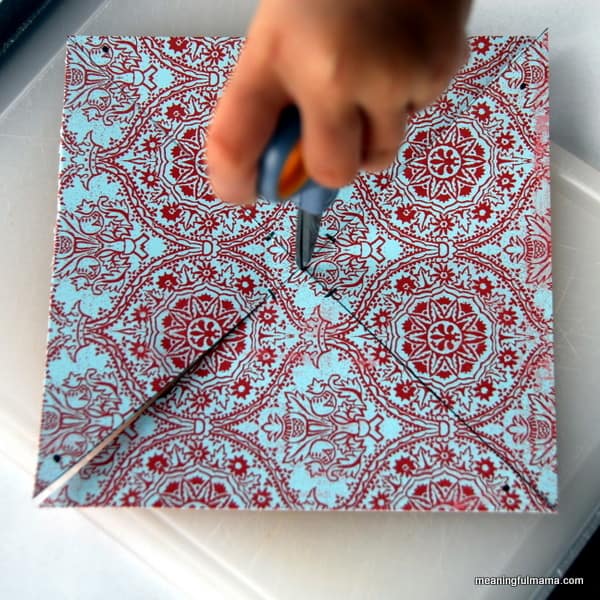
The next thing you do is to take scissors or a small hole punch and punch a hold in the center as well as one other corner of each triangle. I have the spots marked with a sharpie above so you can see what I mean.
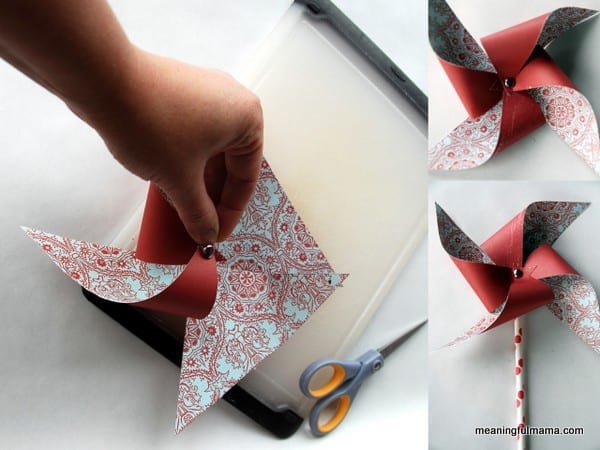
The final step is to take a brad and poke it through one of the holes of one of the triangles. Then, pull up the next one and poke it through. Continue this process with every punched corner and then stick the brad through the center of the pinwheel and secure. The last thing I did was poke a hole in my paper straw and stuck the brad through there. These are decorative pinweels, and they unfortunately don’t blow around like a real one.
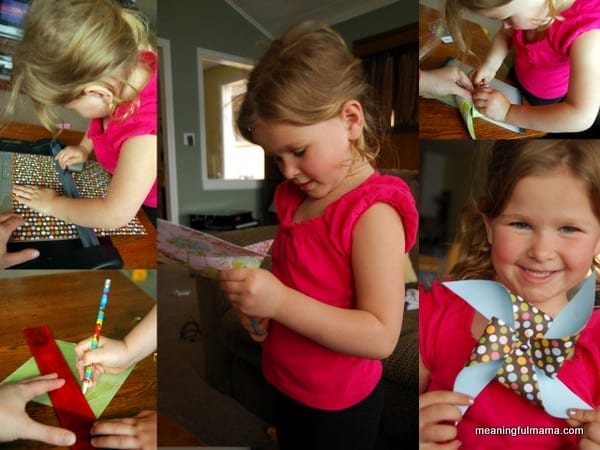
Abby did a bunch of these with me while the other kids were sleeping. She really could do a lot of this by herself, and the other stuff, we could do as a team.
I was featured:


I was featured:


I absolutely LOVE the purpose of your blog. This pinwheel project is so great for summer. 🙂
Thank you so much, Karah. I hope you’ll stop by more.
This is awesome. I always say if its a craft that *I* can do, it must be a nice and easy, because I am not very crafty. I am totally pinning this as I know my little bird would love to play with these pinwheels. And so pretty! Thanks!
Just a warning – the pinwheels don’t spin much, which was a disappointment to me. I tried on a big smoothie straw and got them to spin a little bit. They’re mostly decorative though. They were a lot easier than I imagined. I still hope you’ll try them.
I’ve always wondered how to make these… never taken the time to look it up! I hope you’ll share at Off the Hook!
Just stopped by to link up. Thanks for the invite.
OK – I tried to link up, but it wasn’t working tonight. I am off to bed too. I’ll try again tomorrow.
Just adorable – and easy too. Thanks –
Thank you. I was surprised at how easy they were too.
Very cute! Love that red printed paper you used. Thanks so much for sharing at Etcetorize this week!
Thank you. I fell in love with the paper too.
I see me making a lot of these this summer!! Thanks for sharing and I am a new follower!
Hope you are having a great start to your week!!
Michelle
http://www.delicateconstruction.com
I was just poking around your site too. Following now. I love the flag hand you did. So amazing. Good stuff all around. Thanks for stopping by.
I’ve been wanting to do this- my 2 year old is so into pinwheels right now!
Catherine
http://tbc-tobecontinued.blogspot.com/2012/06/green-goddess-necklace-inspired-by.html
It’s way easier than I thought. I hope the post was helpful.
i’ve always wanted to make these and have them turn out like this. i’ve never had them come out and spin right. maybe we’ll try this and see what happens! thanks for linking up!
These ones didn’t spin well either. I don’t know how you make that happen. I know Martha Stewart makes one you can assemble. Saw those while I was in Michael’s. Might be interesting to see hers to see how they work.
Love it Jody and great tutorial, a lot of times the instructions are just written out and I like how you’ve photographed them. Like that you got some crafting done with your daughter too 🙂 Thank you for sharing at A Crafty Soiree, I’ve featured you this week.
Thank you so much for the feature. I have linked back on the actual post. Thank you for taking the time to comment too.