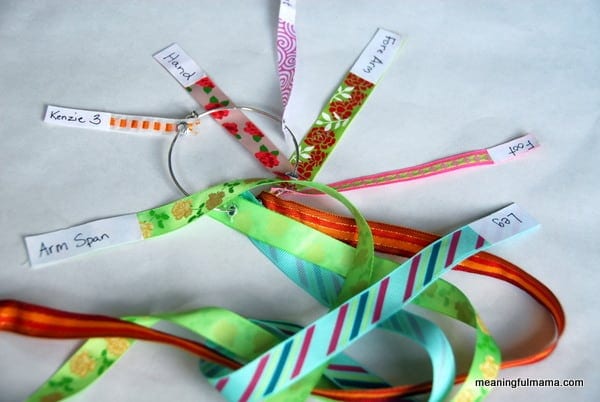
You know all about the growth charts. We have yet to do the door jam or another option for measuring my children’s heights. I’m going to kick myself if I don’t do something soon. However, today I had an idea to expand the concept. Why do we have to only measure the height of our kids? Abby, especially, has been extremely into growth for a while. She’ll wake up and stand proudly in front of me. “Look how big I’ve grown.” She’ll get off the scale, run to me and and proudly exclaim, I weigh 38.6 pounds. I don’t know why she gets so excited. She’s been between 38 and 39 now for a number of months. All I know is that I wish I had an ounce of her enthusiasm when stepping off a scale. She is constantly wanting to measure how tall she comes up compared to me. I thought she’d really enjoy an activity where we could measure a bunch of different body parts. I wanted the end result to be able to store in a compact way so that I could make one every year. This way, they could compare growth for a number of different parts throughout the years. What size were my feet or hands when I was 3? Now they have a ribbon to represent that. Today we measured the leg (hip to foot), arm span, circumference of head, hand, foot, forearm, and wrist.
The process was fairly easy…
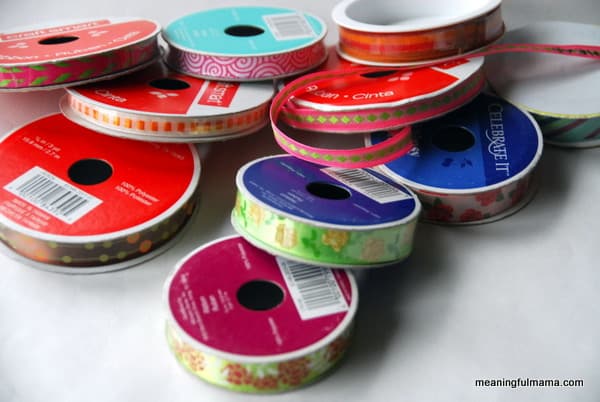
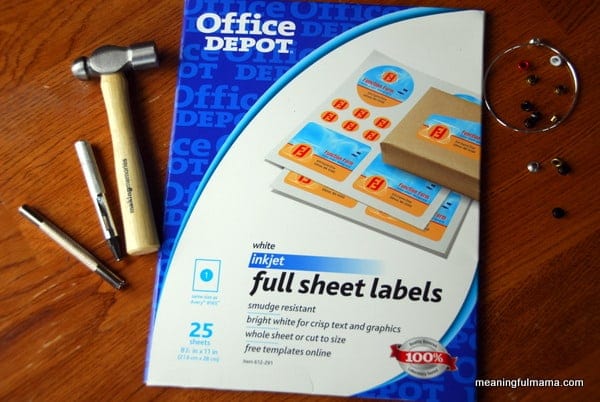
I had a bunch of ribbon I had picked up in the dollar bin at our local craft store. I borrowed my mother-in-law’s grommet tools. I also bought a ring in the jewelry section of the craft store. Here are my materials:
 The first thing we did was take the measurements.
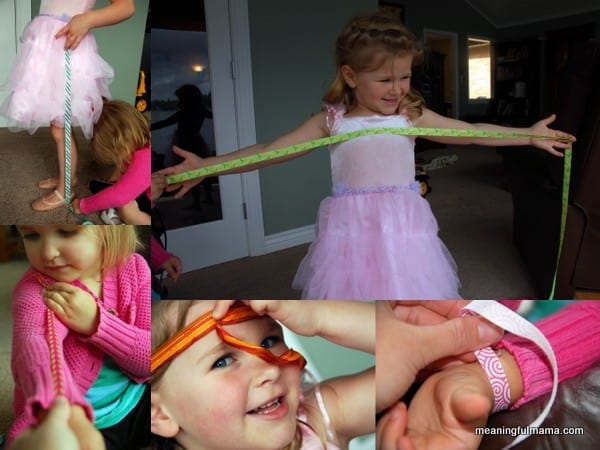
We just took the ribbon and strung it out to the proper length corresponding with the body parts.
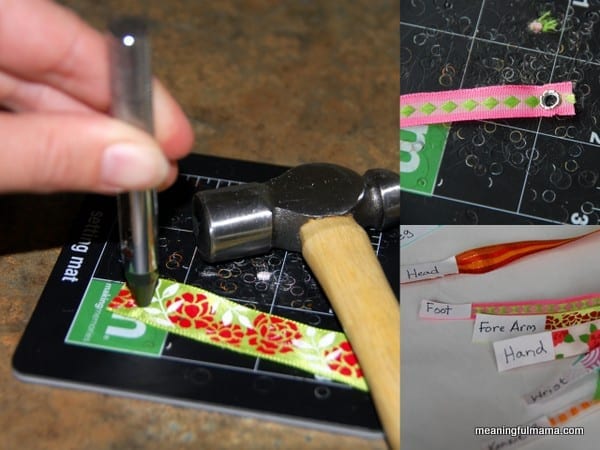
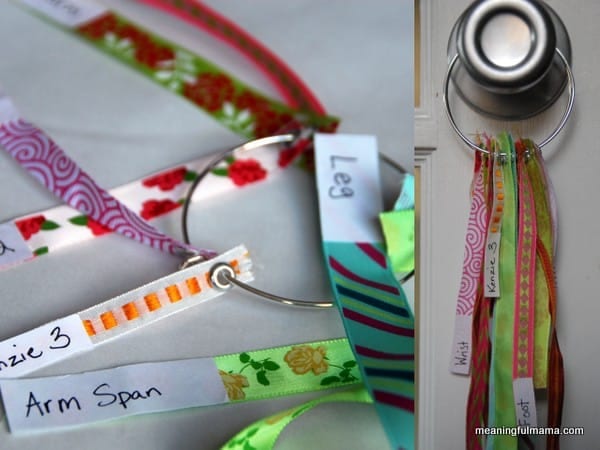
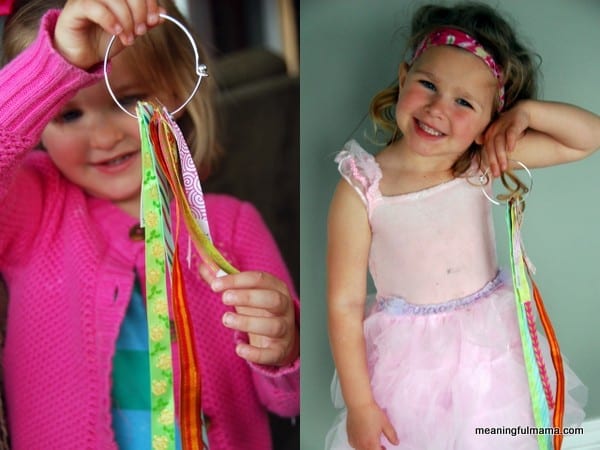
Then, I took one of the sheets of labels, which I had on hand and is basically a paper size white sticker. I cut out the sticker to fit on the tip of the ribbon. I wrote the body part on the sticker and stuck that to the ribbon. On the other end, I hammered out the hole for the grommet, put in the grommet and hammered down the other end. This was my first time doing that. It was easy. I know they have other fancy tools, but this little hammer set worked just great. I then put the ribbons on the ring I had chosen. One ring for each child. I also made one ribbon that said the name and age of that child.


Oh I like this idea.Very cute and easy to store over the years.
I wanted it storable, so that was definitely intentional. Thanks!
what a great idea!!! think i’m going do this!! pinning!!!
Natasha @ http://www.serenityyou.blogspot.com
Thank you so much for pinning. I’d love to see your results if you do.
GREAT idea!! I definitely have to do this! So much easier than trying to get the kids to stand still every time!!
Thanks for taking the time to comment. I hope you get it done. I think the kids will have fun comparing down the road.
Ooooh. Very Cute! Wish I could have done this at birth! My boy is 9 months old now. Well I guess better late than never. 🙂
Not too late at all. I’m just starting this with my kids. Have fun!
Very cute idea. And I love projects with ribbon!
[…] Meaningful Mama […]