Cakes are a hobby of mine, and I would love for you to check out my cakes tab to see some of my work. I have been a student of cake making, reading a lot and asking professionals for advice. I also love to get the kids involved in my cake making adventures, and I think it’s a great way to bond with your kids and teach them their way around the kitchen. Of course, since I’m working on being more intentional in my parenting, they are even more involved then they have been in the past. So, today we worked on making cakes together. I thought I would give a quick cake tutorial for anyone checking in here that has been intimidated by the cake process. I call it Cake Making 101, and it is the basics of learning to bake and decorate a cake. Cake Making 201 will teach more about fondant decorating.
* Affiliate links provided for your convenience. Anything you purchase through these links helps to support Meaningful Mama and the free resources I provide. Thank you for choosing to support us.
One way to get a great cake is start out with an amazing recipe. I want to give you a few of my favorite recipes here:
White Velvet Cake (This is the one I use the most.)
My Favorite Chocolate Cake
Mild Coconut Cake
Red Velvet Cake
Best Buttercream Frosting Recipe (This is my go-to most of the time.)
Salted Caramel Buttercream
Real Buttercream
Trophy Cupcakes Buttercream Recipe
I don’t generally do this, but you can add a simple syrup to add moisture to your cake. I think my cake recipes stand well on their own, but many cake makers do this step. To use a simple syrup, wait until cake and syrup is cool and brush the cake.
Tip #1: The first piece of advice I have for baking is to measure everything accurately. I think that’s the biggest mistake of those who say they can’t bake. Level everything off to the exact top of your measuring cups and follow the recipe to the T.
Tip #2: All ingredients should be at room temperature.

Tip #3: I trace a circle around the cake pans onto parchment paper. Cut out the parchment circles. Grease and flour the sides and then stick the parchment paper on the bottom of the pan. This ensures an easy “out of the pan” experience.
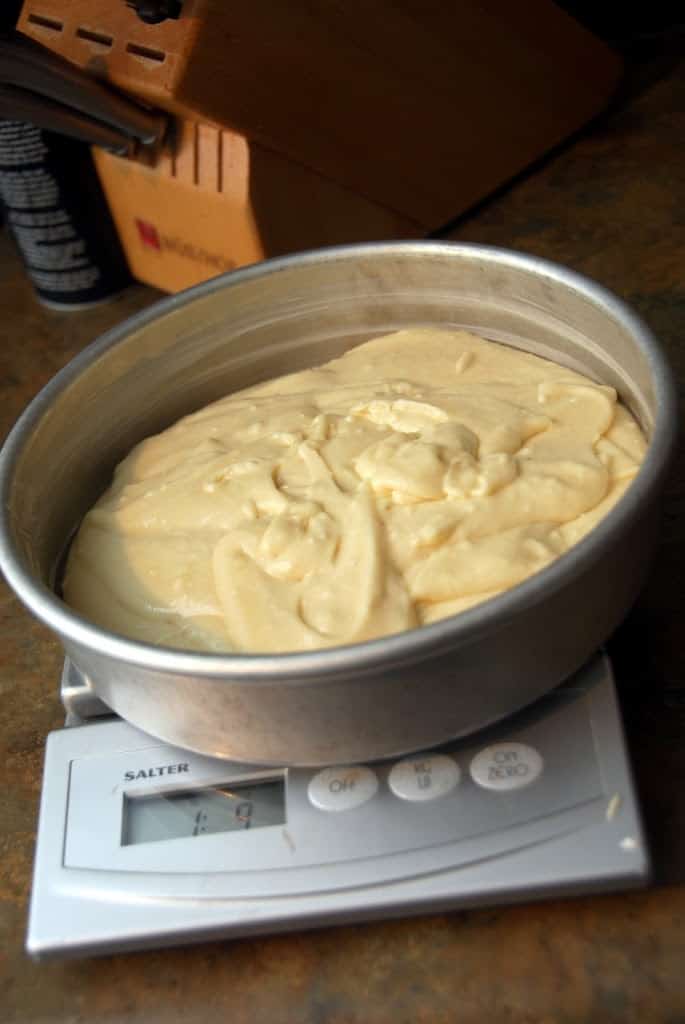
Tip #4: I like to put both pans on a kitchen scale to make sure I have even batter amounts in both pans. This will yield cakes the exact some size.
Tip #5: I also use Wilton’s “Bake Even Cake Strips.” This is a strip you wet with water and then attach around the edge of your pan. It cools the side of your pan so that the cake bakes more evenly, and you don’t get as much of the dome shaped cake.
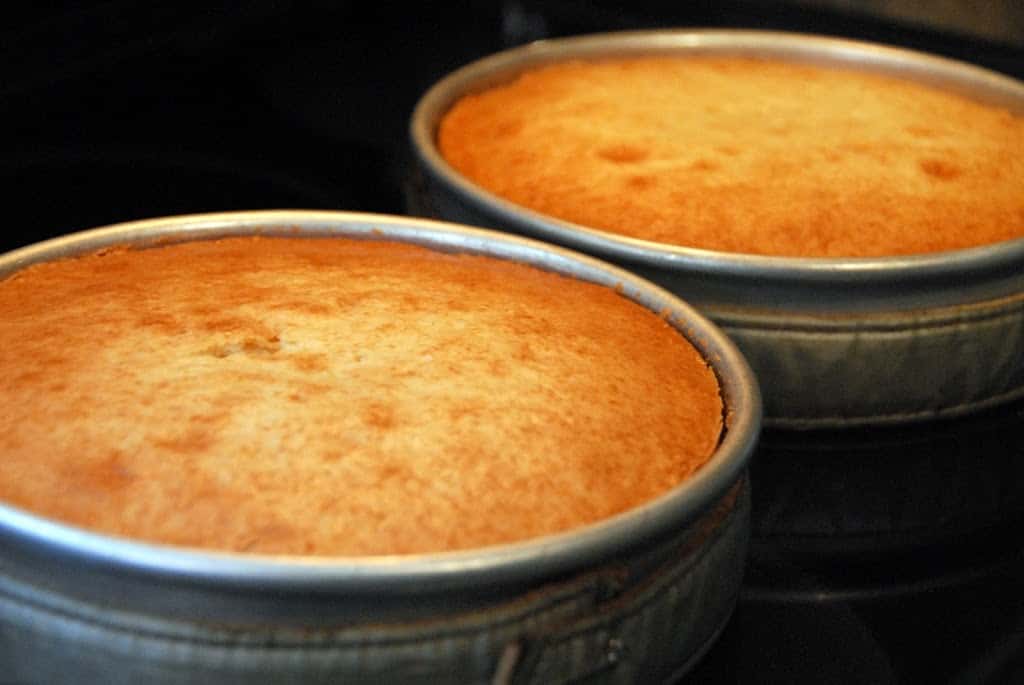
Tip #6: You’ll want to test your cake in the center with a toothpick to insure it comes out clean. Also, if you press on the center lightly with your finger, it should spring back nicely. Once the cake is finished, take it out of the oven and set on top of a cooling rack to cool in the pan for 15 minutes.
Tip #7: I then lay paper towel on my cooling rack. The paper towel is there to avoid having the cake get the lines from the cooling rack imprinted on it. Put a small knife around the edge of the pan to loosen the cake from the sides if needed. Next, put the cooling rack with paper towel over your pan and flip the cake out of the pan. I let the cake sit until completely cooled.
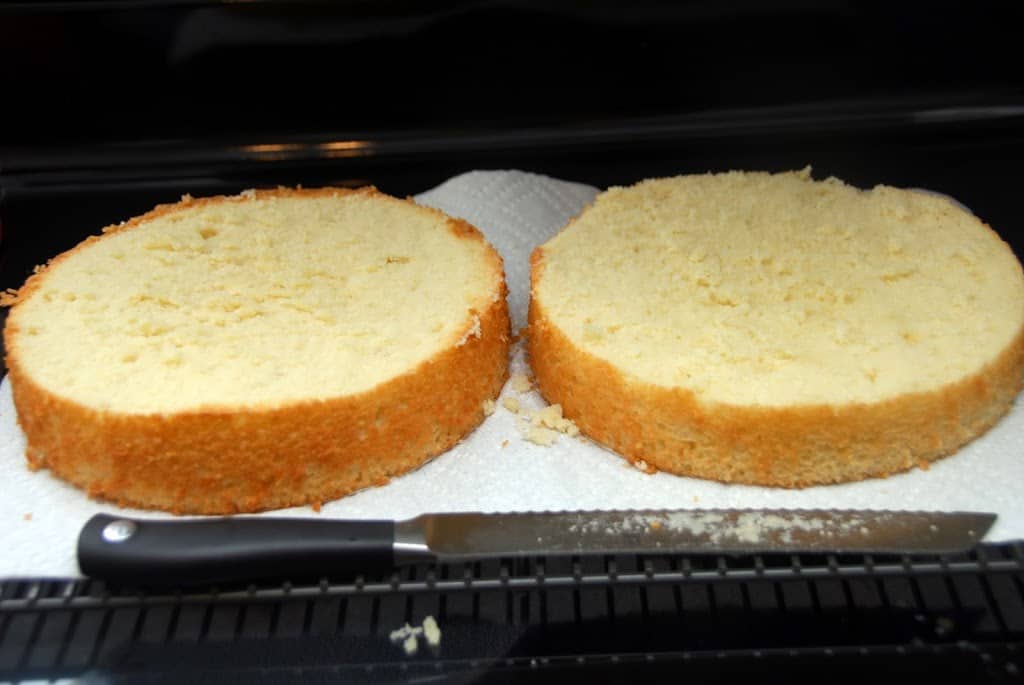
Tip #8: Level off the cake with serrated knife or cake leveling tool, one of my favorite cake tools. They also make a serrated level tool, but I have never used that. Having level layers is key to the stability of your cake.
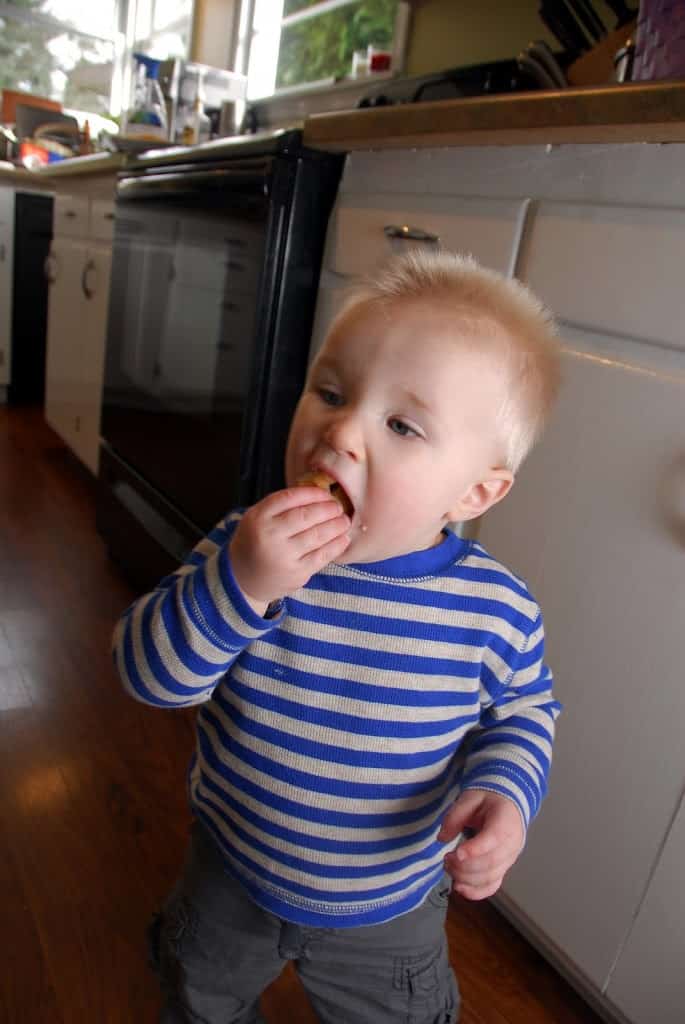
The top of the cake is great for “quality control.” Corban gave this one a thumbs up.
Tip #9: Put your cake on a cardboard cake round the size of your cake.
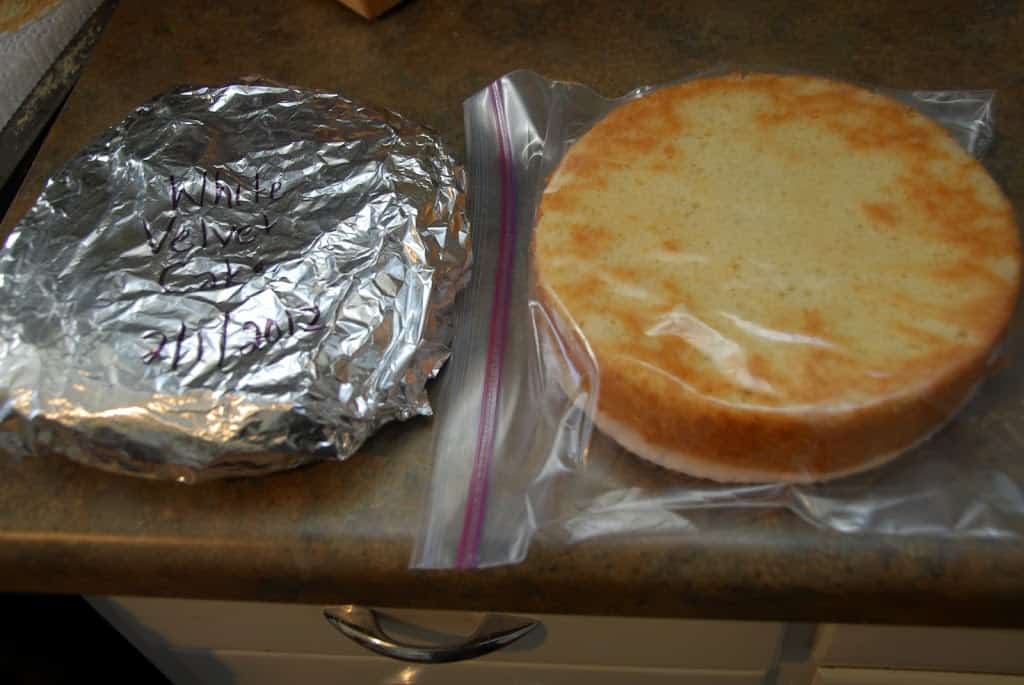
Tip #10: I then freeze my cakes. Freezing them insures they are cooled completely, helps retain moisture and makes them easier to frost. It is also convenient, as you can make your cake in advance. I wrap them in plastic wrap (I was out, so I used a Ziploc bag here), and then I wrap them in foil and label them with a Sharpie. I put them in the freezer for at least one night, but they can be frozen for up to 3 months. If you don’t want to freeze, make sure they are cooled completely (experts say one day) before you frost.
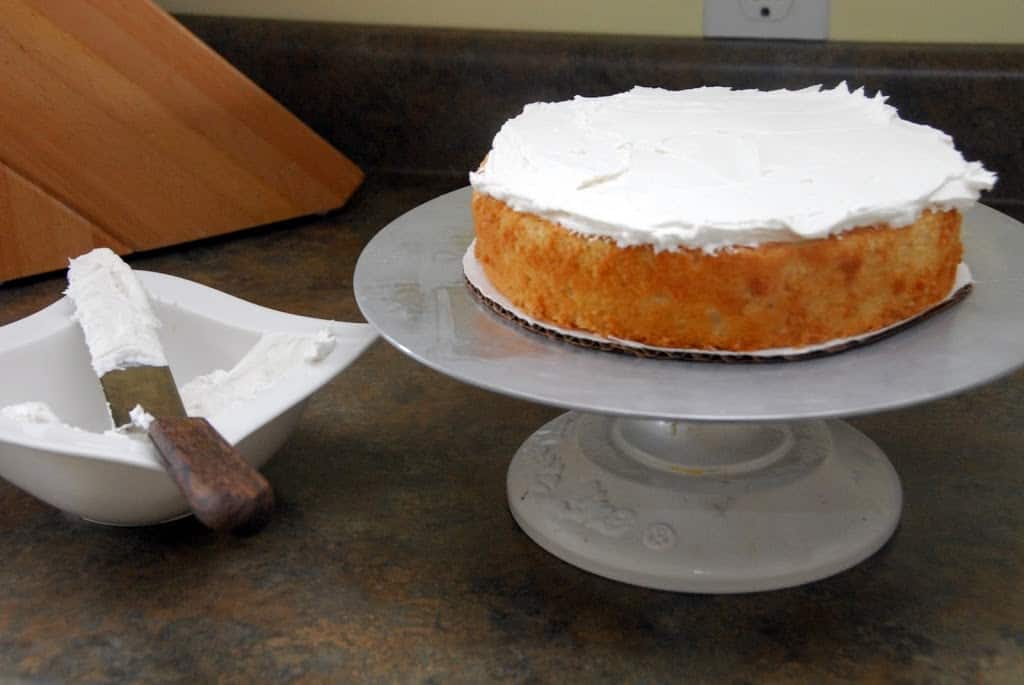
Tip #11: I frost my cakes straight out of the freezer. Take a bunch of your frosting out of the main bowl and put it in another bowl. This becomes the bowl you don’t mind getting crumbs in.
Tip #12: Add your filling. I just put my frosting in the center of this one, but you can add a homemade filling or even use pudding as a filler. If you are doing a filling other than just your buttercream, you can create a dam around the outer circle of your cake by piping out your frosting using a large tip. Then, you put the filling in the center.
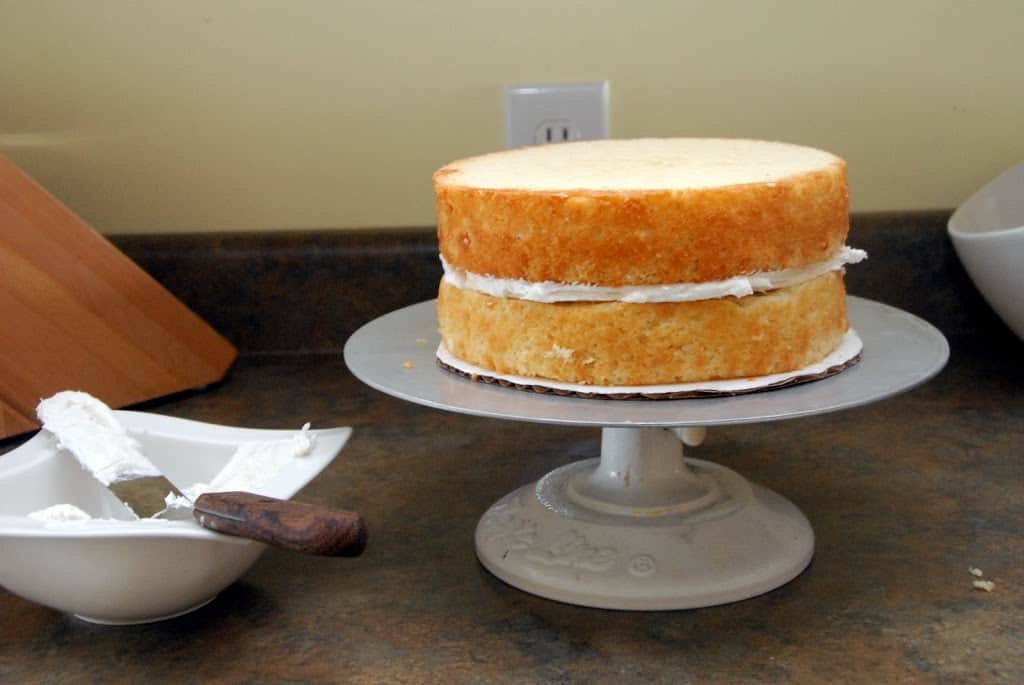
Tip #13: Put your other layer on the top. Make sure it is level at this point with your eyes or a small level you can put on top. If it is not level, you can add more of your frosting to your inner layer level to build up one side.

Tip #14: Next, do your crumb coat. That is the main reason you have a bowl set aside. This process will get all your crumbs on your cake spatula (an essential tool, if you ask me), and you don’t want your crumbs getting in your main bowl of frosting, which acts as your final coat. You’ll take a large cake spatula and spread frosting around the top and side of your cake. This will be a very thin layer of frosting. It’s called a “crumb coat” and basically seals all of your crumbs to the cake. It won’t look pretty, but don’t worry about that. Put this cake in the refrigerator to solidify the base/crumb coat. Another tip (not shown) is to add parchment strips under the edges of your cake while decorating. This makes for easy clean up because you can just pull the strips away and leave a clean dish underneath.

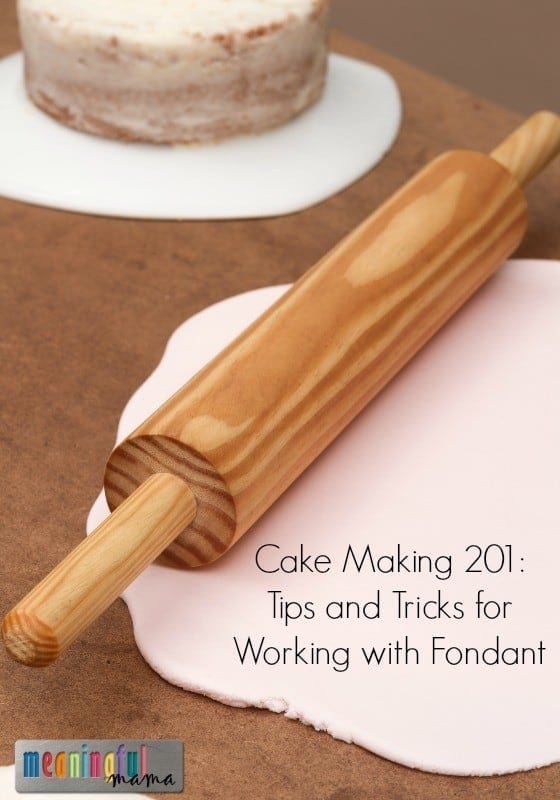
Tip #15: After it’s been in the refrigerator a little bit, I pull it out to do one last thin coat. You can use your cake spatula or a frosting smoother. This is much easier to do when you have a revolving cake stand. Because I’m doing fondant on this cake, the outer edge doesn’t look super presentable at this point. However, I do try to get it really smooth so that imperfections don’t impact the quality of the fondant job that will be done.
Tip #16: If you are just doing frosting, you can add more layers in this way and smooth as you go. I have a great respect for people who are good at making a perfect frosting layer because it’s really hard. One technique that has helped me is to have a glass of hot water. I continually dip my cake spatula and wipe it off with a paper towel – keeping it clean and warm. Another technique I’ve used is the “Viva” paper towel method. You set the smoothly frosted cake in the refrigerator to set. Then, you put a “Viva” paper towel over the top and sides and smooth with a fondant smoother.
I hope this tutorial has been helpful as you set off on your cake pursuits. Have fun with it.
Please see my post Cake Decorating 201 for more great cake decorating techniques, tricks and tips.


Great tips! I’m a pretty lazy baker and this has inspired me to want to make a niely frosted layer cake. Thanks for sharing!
I hope you do. Let me know how it goes if you decide to give it a try. Thanks for commenting.
Thanks for sharing your advice and knowledge! That cake looks yummy!
Thanks, Erin. Glad you checked it out.
By the way, I’m excited to try your banana and avocado smoothie. I found it on your site earlier – then I lost it. I’m glad I checked in again so I could find the exact the recipe. 🙂
Thanks for sharing. My husbands birthday is coming up and I wanted to make him a fancy pants cake!! Thanks for the tips!
Let me know how it turns out. I hope it’s helpful.
Wow, what terrific tips! You’re such a pro. Oh and I covet your red stand mixer. I have a white one and I love it, but could be persuaded to stray with a red mixer. 😉
Yeah, it’s amazing how a silly thing like a red mixer can bring joy. I’m hoping that bag cake making lesson Will inspire people that have been intimidated by cakes in the past.
Oh!!! Would you link this one up too??
http://thediydreamer.blogspot.com/2012/02/from-dream-to-reality-linky-party-3.html
Thanks for this great tutorial. Just wondering if you defrost your cake before you frost it or not?
I’m glad it was helpful, Peggy. I actually don’t defrost the cake. I find it easier to frost and not quite as many crumbs. Good luck with it!
How lond does it take to melt into an edible state? And does freezing it make it soggy?
Hello! Freezing does not make it soggy. I normally take the cakes out and frost them still frozen. I would say the cakes would be ready to eat within 3-5 hours. That said, I generally do fondant on my cakes, so they have a lot more time out of the freezer, so I can’t give an exact time period. I would think if you took them out in the morning, frosted it and then served it at night you’d be good to go. I hope that helps.
stumble upon your site just today, what a nice blog, so helpful tips for a newbie baker like me & great looking kids you have! 🙂
Thanks so much! I am glad you are enjoying this site.
these instructions are awesome! i have never made a cake except in a 9×13 from a box and thew frosting on the top. this morning i am getting ready to frost the cumb layer of a 6 layer cake (the rainbow cake) and so far your instructions have made it very easy!
Oh Yeah! I hope it all worked out really well! Did you see the rainbow cake we did? https://meaningfulmama.com/2012/03/day-84-rainbow-birthday-cake.html I had never built one so high. I’m super impressed that you attempted that on your first go around. You’ll have to let me know how it turned out.
Hi, love your cakes, what frosting do you use? I am attempting your rainbow cake for my sons 1st birthday 🙂
OK – I found you. Your messages went to spam. I had seen them in my email and then they’d just disappear. I thought you may have removed the original question until I got another message today. I wonder why it went to spam. I’m lucky to have my husband who figured it out. Here’s the post I just wrote: Vicki – You have written me twice, and it has come through on my email, but I go to my comment moderation page, and your question is no where to be found. I really want to help, but I don’t know how to contact you. I have two buttercreams I love. https://meaningfulmama.com/2012/04/day-103-buttercream-icing.html This one is a no fail recipe that pairs well with this cake. It is, however, made of shortening rather than real butter. I do prefer the taste of butter, but I have really found this as a great frosting for all the kind of cake decorating too and get a lot of compliments on the flavor. The buttercream I love the flavor of most is https://meaningfulmama.com/2012/06/real-buttercream-frosting.html. That said, it is made of real butter, so it might not have the stiffness you need. I just made it, and I ended up adding a bit of shortening and some powdered sugar to stiffen it up a bit in the warmer weather. I could have just eaten this stuff by the spoonful though. I hope that is helpful, and I hope you find this post.
Hi can you tell me what frosting you use? I am going to make this cake for my sons 1st birthday 🙂
Vicki – You have written me twice, and it has come through on my email, but I go to my comment moderation page, and your question is no where to be found. I really want to help, but I don’t know how to contact you. I have two buttercreams I love. https://meaningfulmama.com/2012/04/day-103-buttercream-icing.html This one is a no fail recipe that pairs well with this cake. It is, however, made of shortening rather than real butter. I do prefer the taste of butter, but I have really found this as a great frosting for all the kind of cake decorating too and get a lot of compliments on the flavor. The buttercream I love the flavor of most is https://meaningfulmama.com/2012/06/real-buttercream-frosting.html. That said, it is made of real butter, so it might not have the stiffness you need. I just made it, and I ended up adding a bit of shortening and some powdered sugar to stiffen it up a bit in the warmer weather. I could have just eaten this stuff by the spoonful though. I hope that is helpful, and I hope you find this post.
I love your extra tips and, as someone who enjoys decorating now and again, it’s always fun to read and see new ideas. For those who who do NOT have kids to eat up the scraps and you don’t want the extra calories or throw them away I suggest this – gather them up and freeze them. I make a “liquid cheese cake” and then use my cake pieces with this glorious substance to make the best cake balls in the world. Dip in some melted chocolate, flavor of choice, and people don’t know what they’re eating.
The cheese cake is sort of a half baked cheese cake with no crust. You want to be able to stir it and put in fridge. Just a suggestion.
I am always wondering what to do with the scraps. I often end up throwing a lot away because I don’t want the temptation around. I wonder if there would be a problem refreezing since I always freeze my cakes. So, just take my favorite cheesecake recipe and bake it half way? Do you just put it in a normal cake pan? I’ll have to try it.
I stumbled across your website while looking into how to quilt a cake with fondant. i have never done anything like this before. like i read on someone else’s post i’ve done the basic mix from a box and frosting from the store. i am going to be attempting to make my daughter’s 18th bday cake. i believe i will pracitce quite a bit before time so if i can’t manage to do it myself i will still have time to get someone else to do it. the prospect is both exciting and nerve wracking. your tips were so wonderful i have restored faith that i can do this. ty for your wonderful site.
I’m so glad you found my posts helpful. I hope you saw the Cake Making 201 post as well. I think the thing that always takes the most practice is the fondant covering. I still am working on perfecting that one. I think you can do it though, and you’ll definitely improve with trials. When frosting a cake, I make sure never to use the frosting from the store. I don’t know your experience, but I find it pulls and grabs the cake apart. If you’ve had better luck, then go for it, but I’d suggest a buttercream. This is my favorite: https://meaningfulmama.com/2012/04/day-103-buttercream-icing.html. I also hope you read somewhere on my site that I have found Duff fondant the tastiest and easiest to work with. You may just find you have a new hobby after this. I hope you have a lot of fun with the process. Please let me know how it goes.
Hi your cake is inspirational I’m going to try it out this weekend.
what is the recipe for your frosting?
Oh great. That makes me really happy. I’d love to hear about your experience. Here is the recipe I like for buttercream: https://meaningfulmama.com/2012/04/day-103-buttercream-icing.html. Lately I’ve been doing 1 cup shortening and 1 cup room temperature butter. Rather than all shortening.
THANK YOU!!!! for your Cake Making 101 tutorial. I’m halfway through frosting mine and it already looks 90% better than any of my frosted cakes. I think it was the freezing overnight and the thin crumb coat. My hubby is going to very surprised!
Yay! I’m so glad it was helpful. A frozen cake is SO MUCH easier to frost, and the thin crumb coat is essential. Enjoy!
These are awesome tips! I found you on Pinterest and wish I knew them all these years of making cakes for my 3 boys. Now they’re grown and I don’t make so many, but do cakes for holidays. This will be SO helpful. Always wondered how they got the icing so smooth and I’m just trying out fondant.
Thank you!!
I’m so glad this was helpful. I hope you saw my cake making 201 post to help with the fondant exploration. Thank you so much for commenting. Let me know if you have any more questions.
I like this cake much.
Thanks so much! Hope it helps.
AMAZING TIPS! These tips are really helpful for everyone.
Thanks for sharing!
Thanks so much! I appreciate it.